Host
& Recipe : @imeliciouz1085
Here
I only made in half recipe, due to limited baking equipment. If you prefer
original (full recipe) please email me.
Jaconde
Biscuit (Almond Sponge Cake)
Meringue:
75
gr Egg whites
20
g granulated sugar
A pinch
of cream of tartar
Almond
Mixture:
100gr
almond or hazelnut meal*
80
gr confectioner sugar (Original 110 gr)
37
gr all-purpose flour
125
gr Eggs
20
gr unsalted butter, melted
Method
- Prepare
2 pans of 22x30cm (9x12 inch) grease or cover with greased baking paper
- Combine
sugar with the eggs and beat on high speed for about 5 minutes until thick and
fluffy then fold almond meal, all purpose flour until well combined, then fold
the melted butter. Set aside.
- Beat
egg whites along until frothy then add cream of tartar beat on high speed,
adding remaining sugar gradually and whip until stiff peak is achieved.
- Gently,
fold one-third of the meringue into the almond mixture in 3 addition and mix
until just combined. Spread the batter evenly into each baking tray.
- Bake
the sponges in 200ºC preheated oven for about 7-10 minutes. Once cool, set
aside (Joconde biscuit can be kept a couple of days at room temperature,
refrigerated a week or frozen for weeks; rolled into parchment and wrapped).
-
Each pan, cut into 2 pieces, and one recipe yield 4 layers of 22x15 cm
Coffee
Buttercream (Crème Anglaise Style)
100ml
full cream milk
40
gr Egg yolks
50
gr castor sugar
7gr
of instant coffee dissolved in 10ml of hot water
120
gr unsalted butter, at room temp
Method
- Bring
milk to boil, set aside. Beat egg yolks and sugar to blend, add milk and whisk
milk gradually into the yolk mixture whisking constantly.
- Return
custard to the stove, gently heat the mixture to just below the boiling point
85ºC or until small bubbles appear in sides it will thicken. Do not boil or the
eggs will curdle.
- Immediately
remove from the heat and transfer to a mixer bowl. Beat the crème Anglaise with
the instant coffee on high speed until has cooled to room temperature (or just
let it cool itself).
- Add
the softened butter and whip until creamy on high speed. Buttercream Can be
kept refrigerated for a week or frozen for up to 3 months.
Chocolate
Coating for Chablon
20g
dark chocolate compound
2ml
oil (I used butter)
Method
- Melt
chocolate and oil and spread evenly on the bottom of one sponge cake and chill
to set.
Coffee Syrup
130
ml hot water
40
gr granulated sugar
10
gr instant coffee
Method
- Bring
all ingredients to boil and let cool to room temp before using.
Chocolate
Glaze
100g
liquid whip cream
150
gr dark cooking chocolate compound or couverture
50
light corn syrup
1
tbsp vegetable oil
Method
- Warm
the whip cream, put the chocolate in the bowl and gently stir it.
- Add
corn syrup and oil, stir until well combined. Set aside
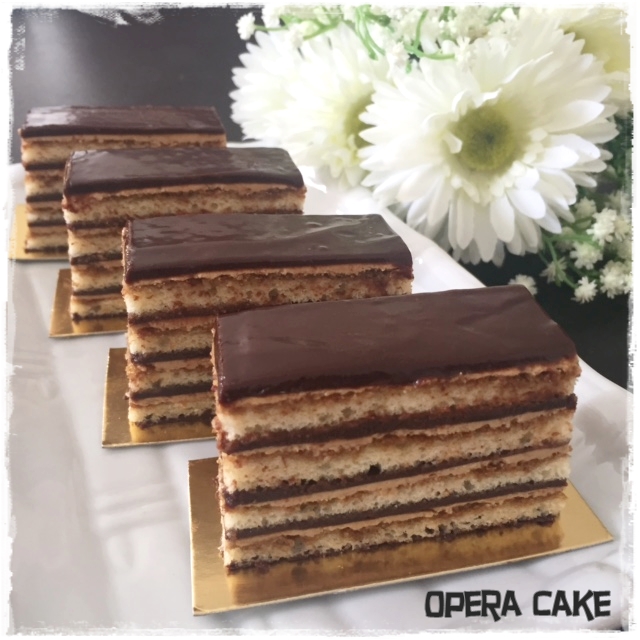
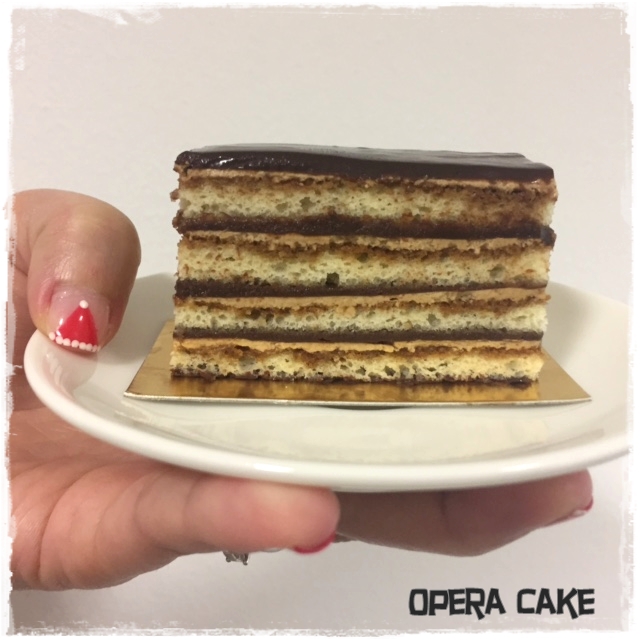
Opera
Cake Assembly
- For
the chablon, using a flat spatula, coat the surface of one sponge with the
melted chocolate (for the bottom). Cover immediately with parchment in contact
and flip over; chocolate side down and refrigerate to set.
- Remove
from the fridge and brush generously with the coffee syrup (each layer of
sponge must be well soaked in coffee syrup; that’s one of the main
characteristic of the opéra cake).
- Carefully,
spread the coffee buttercream over the surface of the first sponge, then
chocolate glaze, continue to do the same until the last layers.
- Every layers should be : jaconde bicuits, coffee buttercream, chocolate glaze
- Place
cake the refrigerator overnight (do not freeze before glazing or condensation
will appear on the surface which will damage the chocolate glaze and its
effect)
- Spread
chocolate glaze over the cake from left to right in a slow but regular motion. Immediately
even the surface of the cake with a large offset spatula lightly moving back
and forth twice. Refrigerate opéra cake until top is set; min. two hour before
trimming off sides and serve. To make cuts look sharper bring a pitcher of hot
water, dip the blade in between cuts, and wipe with a towel.